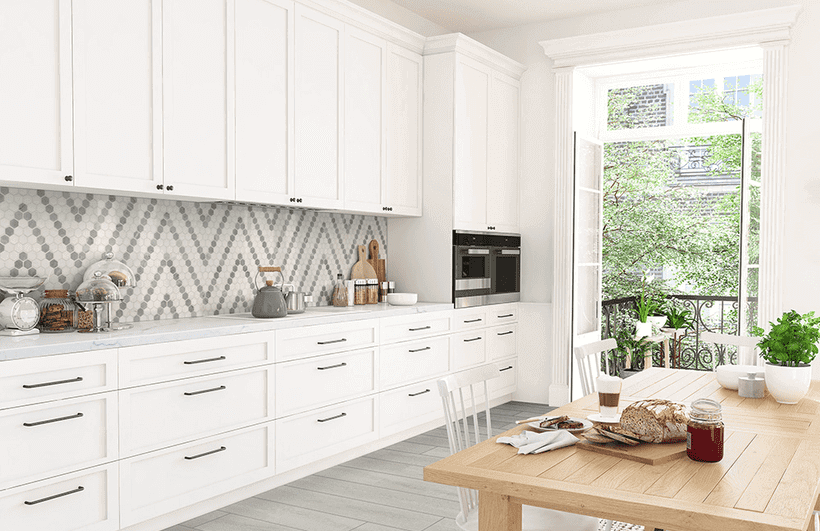
The kitchen backsplash – it’s more than just a pretty face (well, it can be pretty too!). This vital section of your kitchen protects your walls from splashes and spills, adds a decorative touch, and plays a significant role in the overall style and functionality of your space. But with so many kitchen backsplash ideas and materials to choose from, how do you decide what’s right for you?
This comprehensive guide dives deep into the world of kitchen splashbacks, answering all your burning questions and inspiring you with a variety of backsplash ideas. So, get ready to transform your kitchen into a beautiful and functional haven!
- What is a Kitchen Backsplash?
- Kitchen Backsplashes vs Kitchen Splashbacks
- Why Do You Need a Kitchen Backsplash?
- Kitchen Backsplash Ideas: A Kaleidoscope of Choices
- Kitchen Backsplash Ideas for Every Style
- Selecting the Perfect Kitchen Backsplash: Material Matters
- How to Tile a Kitchen Backsplash (General Steps)
- Beyond the Basics: Installation Considerations for Different Splashbacks
- Spruce Up on a Budget: How to Paint Kitchen TilesBacksplash
- How to Clean a Kitchen Backsplash
- How to Clean and Fix White Grout on Kitchen Backsplash Panels
- Dealing with Disaster: How to Remove a Kitchen Backsplash
- The Final Splash: Pulling it All Together
- Kitchen Backsplash FAQs: Your Questions Answered
- Latest Posts
What is a Kitchen Backsplash?
A kitchen backsplash is a protective layer of material installed vertically on the wall behind a kitchen countertop, stove, or sink. It typically extends a few inches up the wall, shielding it from water, grease, and food splatters during food preparation and cooking.
In addition to its functional role, a backsplash also serves as a decorative element in the kitchen, adding style and enhancing the overall aesthetic.
The height of a backsplash can vary, ranging from a few inches above the countertop to covering the entire wall up to the cabinets or even the ceiling. The design and material choice depend on personal preference, kitchen style, and budget.
- The standard height for a kitchen backsplash is between 18-22 inches above the countertop.
Kitchen Backsplashes vs Kitchen Splashbacks
Believe it or not, “kitchen backsplash” and “kitchen splashback” are two terms for the same hardworking hero in your kitchen! Both refer to that protective and stylish panel guarding your walls against culinary splashes. While “backsplash” seems to be the dominant term in North America, “splashback” reigns supreme in the UK and Australia. So, no matter what you call it, this vital element adds both function and flair to your kitchen.
Why Do You Need a Kitchen Backsplash?
Besides adding a decorative touch, kitchen splashbacks offer several benefits:
- Protection: They shield your walls from water damage caused by splashes and spills.
- Easy Cleaning: Backsplashes provide a non-porous surface compared to painted walls, making cleaning up messes a breeze.
- Improved Hygiene: They create a barrier against mold and mildew growth in damp areas around the sink.
- Increased Value: A well-designed backsplash can enhance the overall aesthetics and value of your kitchen.
Kitchen Backsplash Ideas: A Kaleidoscope of Choices
Now comes the fun part – exploring different kitchen backsplash ideas to match your style and budget! Here’s a glimpse into some popular materials and their unique characteristics:
Ceramic Tile
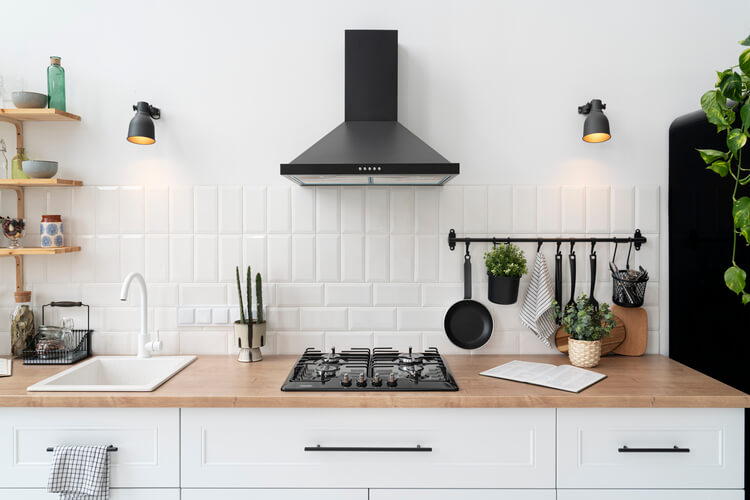
A classic and versatile choice, ceramic tiles come in a vast array of colors, patterns, textures, and sizes. They’re relatively affordable, durable, and easy to clean.
Stone Backsplashes
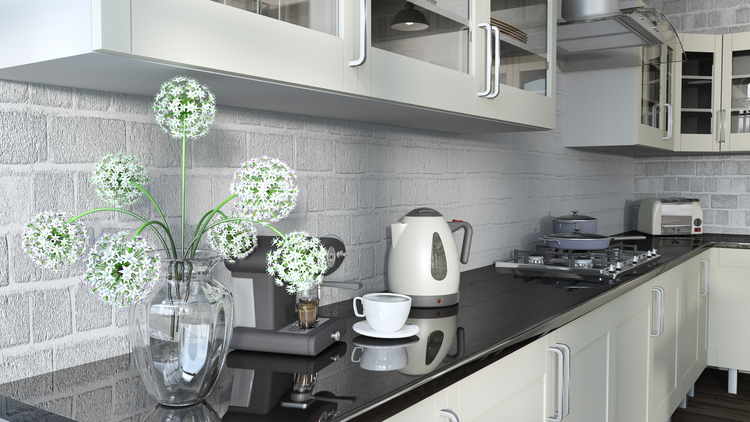
Natural stone like granite, marble, or slate adds a touch of luxury and timeless elegance to your kitchen. However, stone requires more maintenance and can be pricier.
Glass Tile Backsplashes
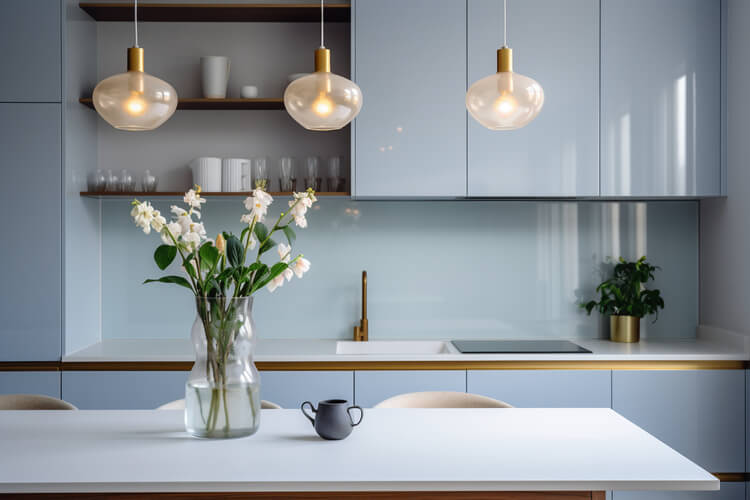
Available in various colors, textures, and finishes, glass tiles create a sleek and modern look. They reflect light, making your kitchen feel more spacious.
Metal Backsplashes
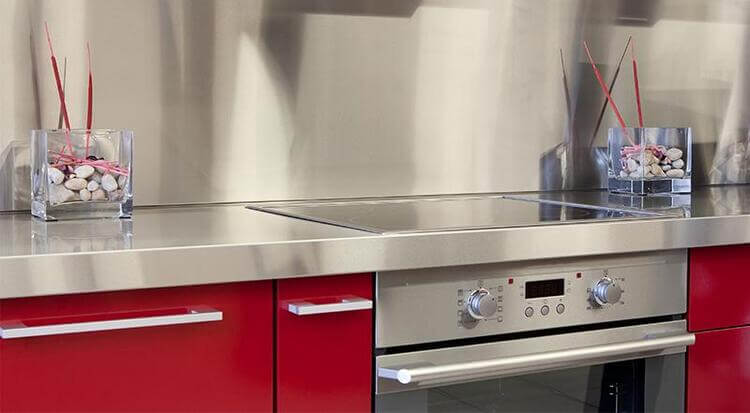
Stainless steel offers a contemporary and industrial feel, perfect for modern kitchens. It’s incredibly easy to clean and maintain but may show fingerprints.
Mosaic Tile Backsplashes
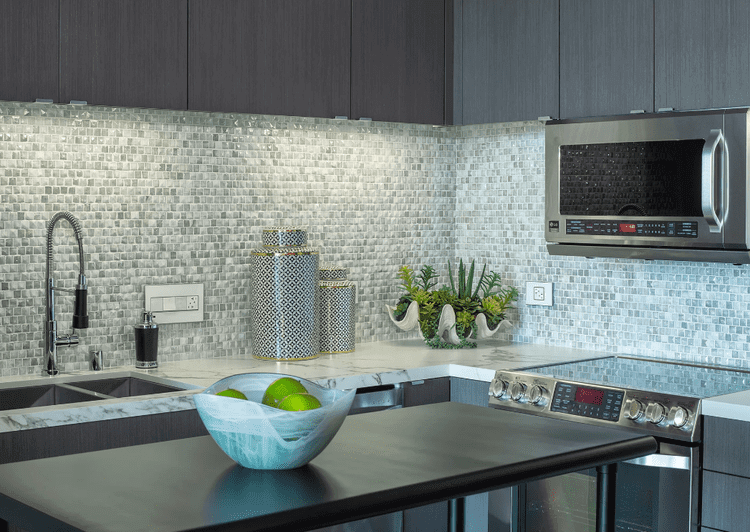
For a unique and eye-catching design, consider mosaic tiles. These come in a variety of materials like glass, ceramic, or metal, offering endless design possibilities.
Brick Backsplashes
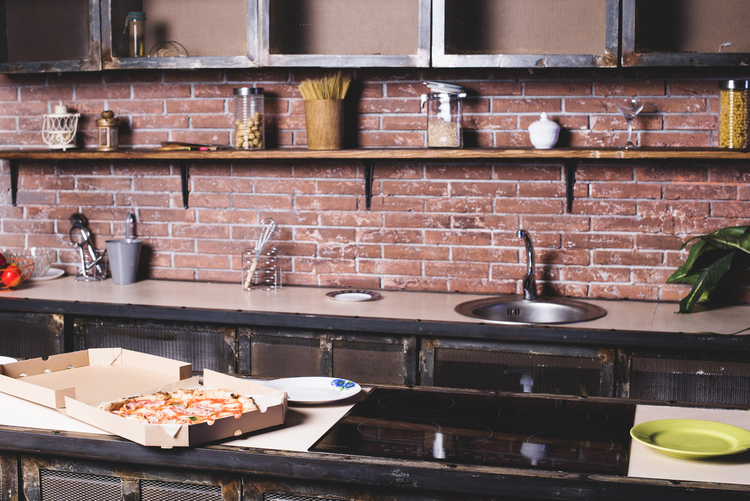
Exposed brick adds a rustic charm and character to your kitchen. This option works well in industrial, farmhouse, or vintage-inspired settings.
Wood Backsplashes
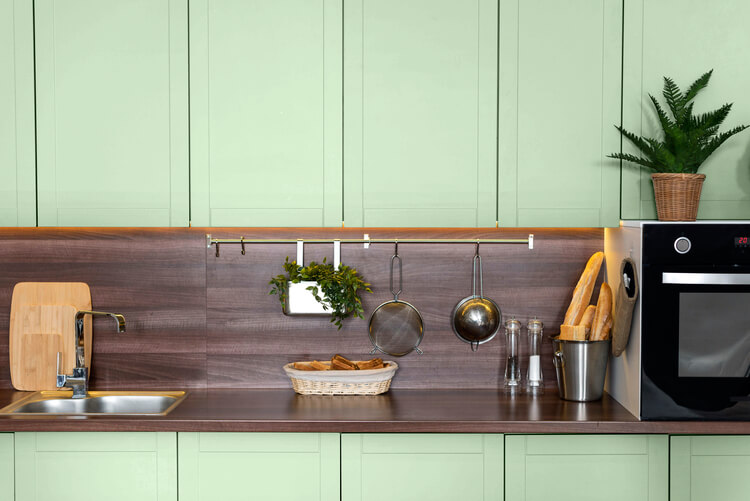
Wood creates a warm and inviting atmosphere. However, wood requires special sealing and maintenance to withstand moisture in the kitchen.
Painted Backsplashes
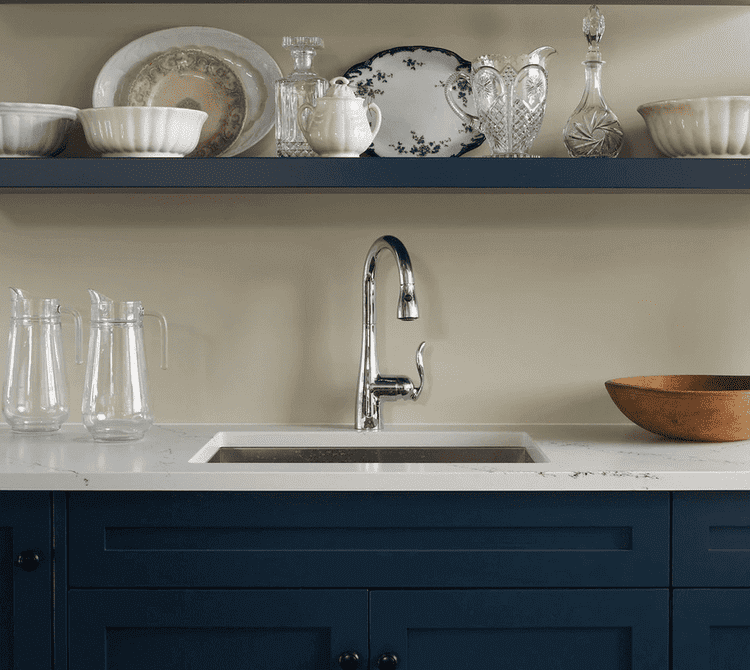
A budget-friendly option, painting your existing backsplash tiles or wall can give your kitchen a fresh look. Choose a paint suitable for kitchens that can withstand humidity and splashes.
Kitchen Backsplash Ideas for Every Style
Feeling overwhelmed by the options? Let’s explore some kitchen backsplash ideas categorized by popular design styles:
Modern Kitchen Backsplashes
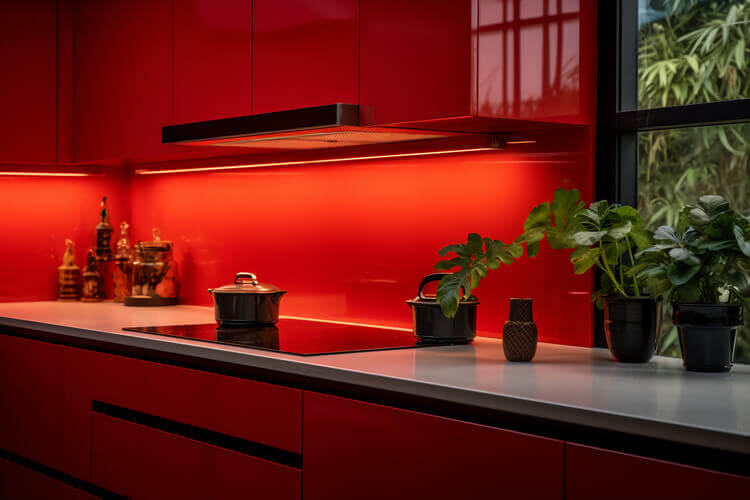
Opt for sleek materials like glass, metal, or large-format ceramic tiles in neutral colors. Geometric patterns or subway tiles also work well in modern kitchens.
Traditional Kitchen Backsplashes
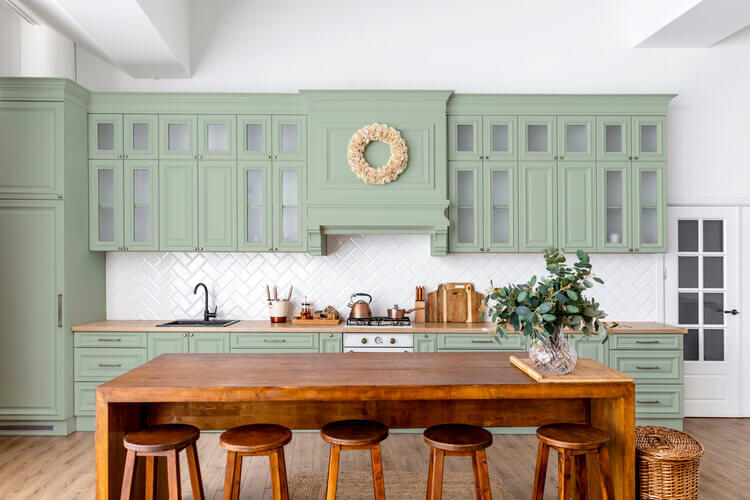
Classic subway tiles in white or neutral tones, intricate mosaic patterns, or natural stone like granite or marble elevate the elegance of a traditional kitchen.
Rustic Kitchen Backsplashes
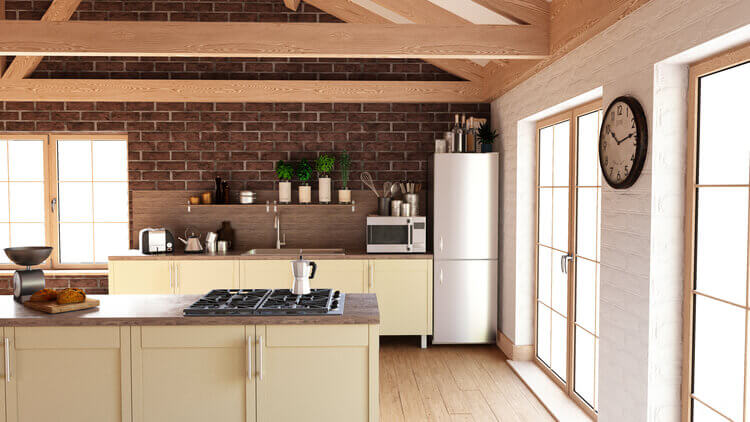
Exposed brick, natural stone with a textured finish, or wood backsplashes with a weathered look create a warm and inviting atmosphere in rustic kitchens.
Farmhouse Kitchen Backsplashes
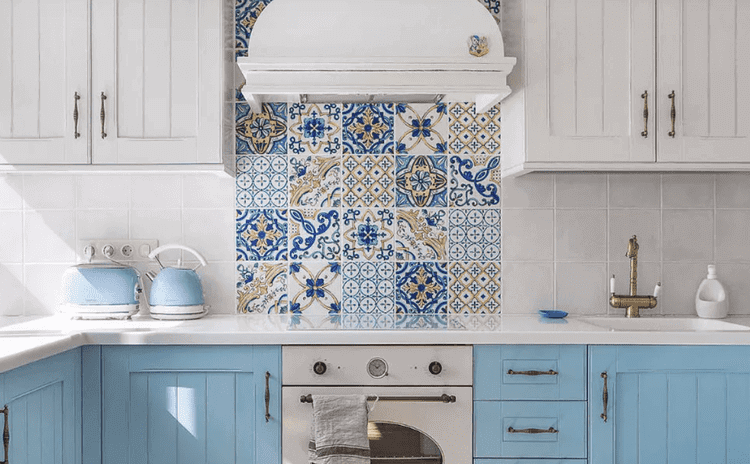
Subway tiles in white or light colors, shiplap paneling painted white or a light blue, or mosaic tiles with floral patterns add a charming touch to farmhouse kitchens.
Industrial Kitchen Backsplashes
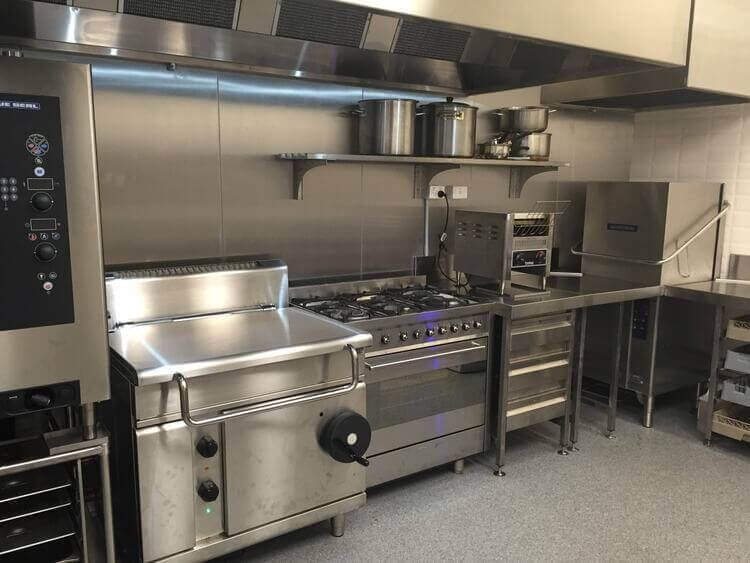
Stainless steel backsplashes, exposed brick, or concrete panels create a raw and edgy look for an industrial kitchen.
Selecting the Perfect Kitchen Backsplash: Material Matters
Once you’ve explored the design possibilities, it’s time to delve into the specifics of each backsplash material. Here’s a closer look at some popular options, including installation tips and considerations:
Ceramic Tile Backsplash
Easy to care for, budget-friendly, and highly customizable, ceramic tiles are a popular choice for kitchen backsplashes. They come in a wide range of colors, patterns, textures, and sizes, allowing you to create a unique look. Here’s what to consider:
Installation: Ceramic tiles require a smooth and level surface. DIY-ers can tackle this project, but ensure proper tile cutting, setting, and grouting techniques for a professional finish.
Cost: Ceramic tiles are generally affordable, with prices varying depending on size, design, and brand.
Maintenance: Ceramic tiles are easy to clean with a damp cloth and mild detergent. For tougher stains, a grout cleaner might be necessary.
Stone Backsplashes
Natural stone like granite, marble, or slate offers a touch of luxury and timeless elegance. However, stone requires more maintenance and can be pricier than other options. Here’s what to consider:
Installation: Stone backsplashes are typically installed by professionals due to the weight and cutting requirements of the material.
Cost: Stone backsplashes are on the higher end of the spectrum, with prices varying depending on the type of stone chosen, thickness, and size.
Maintenance: Stone requires sealing to protect against stains and etching. Avoid harsh cleaners and use specific stone cleaning products.
Glass Tile Backsplashes
Offering a sleek and modern look, glass tiles come in various colors, textures, and finishes. They reflect light, making your kitchen feel more spacious. Here’s what to consider:
Installation: Similar to ceramic tiles, glass tiles require a smooth and level surface for installation. Professional installation is recommended for intricate patterns or mosaics.
Cost: Glass tiles can range in price depending on the type of glass, size, and finish. They generally fall within the mid-range price bracket for backsplash materials.
Maintenance: Glass tiles are easy to clean with a damp cloth and non-abrasive cleaner. Avoid harsh chemicals that can scratch the surface.
How to Tile a Kitchen Backsplash (General Steps)
- Preparation: Measure your backsplash area and purchase enough tiles. Gather necessary tools like a tile cutter, level, trowel, spacers, and grout. Ensure your wall is clean, smooth, and free of moisture.
- Layout and Marking: Plan your tile layout to minimize cutting. Mark the wall to ensure straight grout lines.
- Applying Mortar: Spread pre-mixed mortar or thinset adhesive onto the wall using a trowel, creating a thin layer.
- Laying the Tiles: Begin at a corner and carefully press each tile into the mortar, ensuring proper spacing with spacers. Use a level to maintain alignment.
- Cutting Tiles: Use a tile cutter for necessary cuts around outlets or corners.
- Grouting: Once the mortar cures (refer to manufacturer’s instructions), apply grout between the tiles using a grout float. Wipe away excess grout with a damp sponge.
- Sealing: After the grout dries completely, apply a sealant to protect the grout and tiles from moisture and stains.
- Remember: This is a general guide. Always follow the specific instructions for your chosen tile material and any additional recommendations from the manufacturer.
Beyond the Basics: Installation Considerations for Different Splashbacks
While the general steps for tiling a backsplash apply to most materials, some require specific considerations:
How to Install a Brick Backsplash in the Kitchen
Exposed brick can add a rustic charm to your kitchen. However, existing brick walls might be uneven and require additional preparation before installation. Consider these points:
- You may need to repoint or repair damaged mortar between the bricks.
- If the brick wall is uneven, a lathe or furring strips might be necessary to create a level surface for backsplash materials like tile or stone.
- Sealing the exposed brick is recommended to protect it from moisture and stains.
How to Install Glass Backsplash Tiles in the Kitchen
Glass backsplashes add a touch of elegance and can be particularly stunning in small kitchens as they create a sense of spaciousness. Here’s what to consider before installing glass backsplash tiles in the kitchen:
- Professional installation is recommended for large glass panels or intricate mosaic patterns to ensure proper alignment and prevent breakage.
- Choose tempered glass for safety, especially behind the cooktop area.
Spruce Up on a Budget: How to Paint Kitchen Tiles
Backsplash
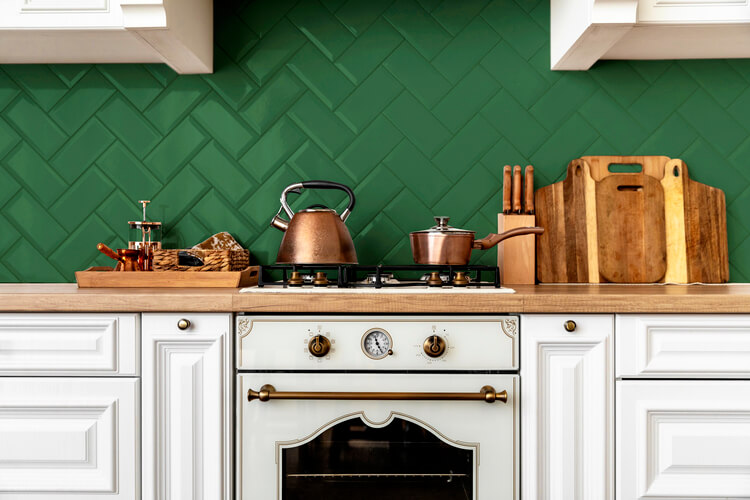
A budget-friendly option, painting your existing backsplash tiles can give your kitchen a fresh look. However, proper preparation and paint selection are crucial for a successful and durable finish. Here’s what you need to know:
Preparation is Key
- Thoroughly clean the tiles with a degreaser to remove any grease or grime.
- Use sandpaper to scuff the surface of the tiles to improve paint adhesion.
- Apply painter’s tape to protect your cabinet and countertop surfaces.
- Consider priming the tiles, especially if you’re painting over a dark color, for better paint coverage.
Choosing the Right Paint
- Opt for a high-quality, moisture-resistant kitchen and bath paint.
- Consider using a paint with a built-in primer for added convenience.
- Choose a semi-gloss or gloss finish for easier cleaning and resistance to moisture and stains.
Painting Techniques
- Use a brush for edges and corners and a roller for larger areas.
- Apply multiple thin coats for better coverage and a smooth finish.
- Allow each coat to dry completely before applying the next.
Sealing the Deal
- Once the paint is completely dry, apply a coat of a clear sealant specifically designed for kitchens and baths. This adds an extra layer of protection against moisture and stains.
How to Clean a Kitchen Backsplash
No matter the material you choose, regular cleaning is essential to maintain the beauty and functionality of your kitchen backsplash. Here’s how to tackle cleaning for different backsplash materials to keep them sparkling for long:
Ceramic and Glass Tile Backsplashes
- Regularly wipe down your backsplash with a damp cloth and mild dish soap.
- For tougher stains, use a grout cleaner specifically designed for the type of tile you have.
- Avoid harsh chemicals and abrasive cleaners that can scratch the surface.
Stone Backsplashes
- Use a damp cloth and a mild stone cleaner specifically formulated for your chosen stone type (granite, marble, etc.).
- Avoid acidic cleaners like vinegar or citrus cleaners, as they can etch the stone surface.
- Regularly re-seal your stone backsplash to protect it from stains and moisture (consult a professional or the stone care instructions for recommended frequency).
Metal Backsplashes
- Stainless steel backsplashes are easy to clean. Wipe them down with a damp cloth and a stainless steel cleaner for a streak-free shine.
- Avoid abrasive cleaners or scouring pads that can scratch the surface.
Painted Backsplashes
- Use a damp cloth with warm, soapy water for regular cleaning.
- Avoid harsh chemicals or abrasive cleaners that can damage the paint.
How to Clean and Fix White Grout on Kitchen Backsplash Panels
White grout can be particularly susceptible to stains and discoloration over time. Here’s how to clean and fix it:
Cleaning
- Make a paste of baking soda and white vinegar. Apply it to the grout lines and let it sit for 15-20 minutes.
- Scrub the grout with a soft brush and rinse thoroughly with clean water.
- For stubborn stains, you can try a commercial grout cleaner specifically designed for white grout.
Fixing
If cleaning doesn’t resolve the issue, you might need to consider re-grouting. This process can be time-consuming and requires some DIY skills. Here’s a general overview:
- Remove existing grout: Carefully remove the existing grout using a grout removal tool. Wear a mask and safety glasses for protection from dust.
- Clean the area: Thoroughly clean the area between the tiles to remove any debris or remaining grout.
- Prepare the new grout: Mix pre-mixed grout according to the manufacturer’s instructions.
- Apply the grout: Using a grout float, apply the grout diagonally across the tiles, filling the spaces between them.
- Tool the grout: Use a grout finishing tool to smooth the surface of the grout and remove any excess.
- Clean and seal: Once the grout cures (refer to manufacturer’s instructions), clean the tiles with a damp cloth to remove any grout residue. Apply a grout sealer to protect the grout from stains and moisture.
- Remember: Always test any cleaning solutions or grout products on an inconspicuous area of your
backsplash before applying them to the entire surface.
Dealing with Disaster: How to Remove a Kitchen Backsplash
Whether you’re renovating your kitchen or simply tired of your current backsplash, knowing how to remove it safely is essential. Here’s a general approach, keeping in mind that specific removal techniques might vary depending on the material.
Safety First
- Turn off power to any electrical outlets near the backsplash.
- Wear safety glasses, gloves, and a mask to protect yourself from dust and debris.
Removing Tiles
- For ceramic or glass tiles, use a grout saw to carefully cut through the grout lines.
- Once the grout is loose, use a putty knife or a pry bar (gently!) to remove the tiles individually.
- Be cautious not to damage the wall behind the tiles.
Removing Stone Splashbacks
Stone backsplashes are typically heavier and require professional removal due to the risk of damaging the stone or the wall beneath.
Removing Paint
- Use a heat gun to soften the paint, then carefully scrape it off with a putty knife.
- Alternatively, you can use a chemical paint stripper (following the manufacturer’s instructions carefully, with proper ventilation).
The Final Splash: Pulling it All Together
Choosing the perfect kitchen backsplash involves considering your design style, budget, and desired level of maintenance. With this comprehensive guide, you’re well-equipped to navigate the world of kitchen backsplashes, from exploring various materials and styles to tackling installation and maintenance. Remember, your backsplash can be a statement piece, adding personality and functionality to your kitchen. So, unleash your creativity, choose a backsplash that reflects your style, and enjoy the transformed space!
Kitchen Backsplash FAQs: Your Questions Answered
If you have any other questions or would like to share something, please feel free to comment below. I would love to hear from you.
You may also like: Do Pot Fillers Add Value to the Home?

